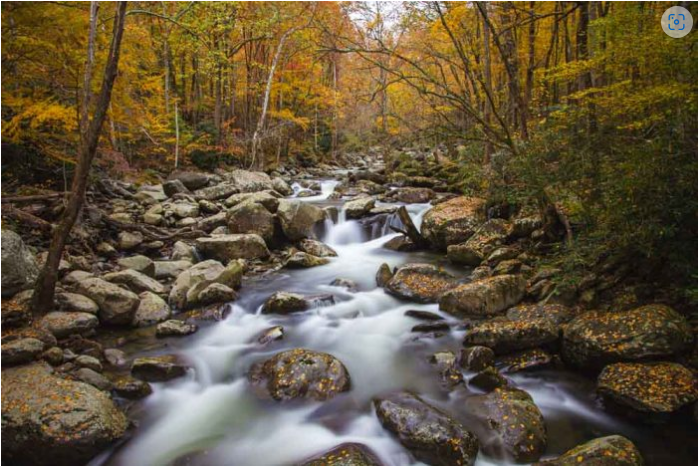
There’s something magical about the silky, dreamy look of flowing water in long-exposure photography. It adds a serene, almost ethereal quality to nature scenes—something you can’t achieve with a standard camera setup. In this guide, I’ll walk you through how I capture this effect using an affordable and simple tool: the neutral-density (ND) filter.
What Is a Neutral-Density Filter?
A neutral-density (ND) filter is essentially a darkened piece of glass that attaches to your camera lens, reducing the amount of light that enters without affecting color balance (hence the term “neutral”). While there are various types—square filters, drop-in filters, and even built-in options in some high-end video cameras—this article focuses on the most common and budget-friendly option: screw-on filters.
ND filters come with different markings indicating their light-blocking strength. You might see labels like ND8, 0.9 ND, or 3-stop ND—all referring to the same thing. The numbers relate to the mathematical reduction of light, but what really matters for photographers is the stop value.
- A 1-stop ND filter cuts light by half.
- A 2-stop ND filter reduces it to 25% of the original light.
- Stronger filters (like 10-stop ND) allow only 0.1% of light to pass through, enabling extremely long exposures even in bright daylight.
Using ND Filters for Silky Water Effects
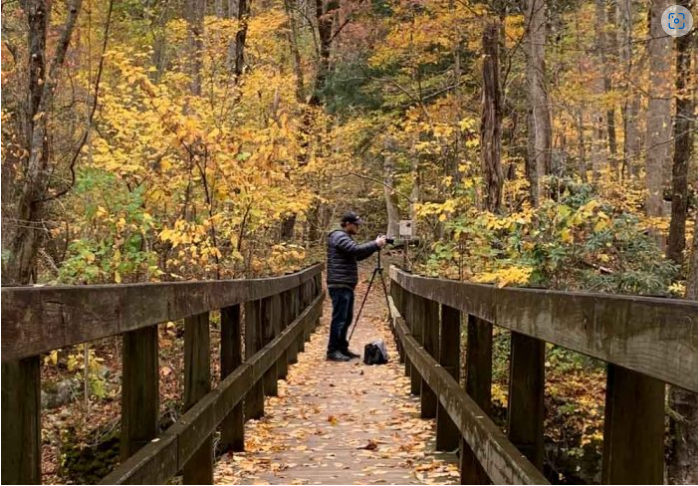
I frequently shoot mountain streams in the Great Smoky Mountains, where capturing smooth, flowing water requires long exposures. On a sunny day, getting a shutter speed slower than 1/4s is tough without overexposing the shot. But with a 9-stop ND filter, I can extend exposures to 5-30 seconds, transforming rushing water into a soft, misty flow.

Key Steps for Shooting with Strong ND Filters
1. Set Up Without the Filter First – Mount your camera on a tripod, compose your shot, and focus.
2. Switch to Manual Focus – If using autofocus, lock it in and then disable AF to prevent hunting.
3. Attach the ND Filter Carefully – Avoid bumping the focus ring.
4. Shoot and Adjust – Review your images and tweak framing or aperture as needed.

Since a 9-stop ND filter blocks so much light, your viewfinder will go nearly black. That’s why it’s crucial to frame and focus before attaching the filter.

When to Use Different ND Strengths
- Milder ND filters (3-6 stops) work well for slight motion blur in brighter conditions.
- Strong ND filters (9-10 stops) are ideal for ultra-long exposures (30+ seconds), especially around waterfalls or ocean waves.
- Variable ND filters offer flexibility but can cause uneven darkening (vignetting) on wide-angle lenses.