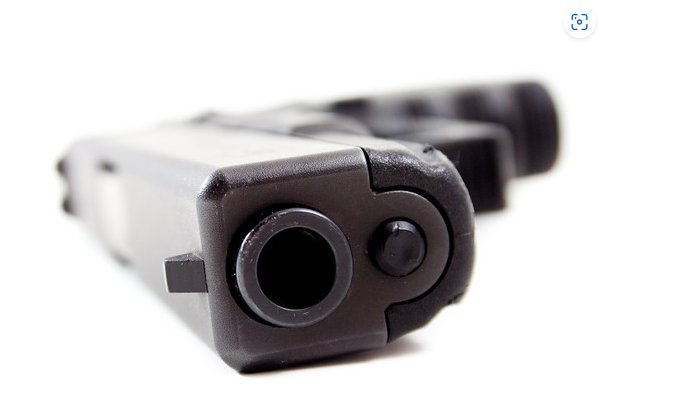
Just as sharpshooters rely on fundamentals to hit their target, photographers can apply similar techniques to capture sharp, clear images. Ignoring these principles might mean a missed bullseye for a marksman—or a blurry photo for a photographer.
Since camera shake is a common cause of blur, keeping your camera steady is crucial. A standard guideline is to set your shutter speed at least as fast as the reciprocal of your focal length. For example, with a 200mm lens, aim for 1/200s or faster. (Keep in mind that image stabilization and crop sensors may adjust this slightly.)
While this rule isn’t absolute, these four techniques will help you maximize stability and minimize blur.
1. Firm Grip, Steady Hold
A solid grip is essential. Hold the camera with both hands—your right hand on the grip and your left supporting the lens from below. Keep your elbows tucked in, using your body as a brace for added stability.
Marksmen use a push-pull technique with handguns: one hand pushes forward while the other pulls back, creating tension for steadier aim. Photographers can mimic this by gently pressing the camera against their forehead, using it as a third point of contact.
2. Balanced Stance
A stable stance prevents unwanted movement. Stand upright—no slouching—with your feet shoulder-width apart.
Many marksmen adopt a boxer’s stance (angled at about 45 degrees) for balance. If you’re right-handed, place your left foot forward, toes pointing toward your subject, and your right foot slightly back. Keep your knees slightly bent—never locked.
Need to go lower? Kneel instead of squatting. Resting one knee on the ground provides a steadier base than an unstable squat. For even more support, sit back on your heels or prop your elbow on your raised knee. The key is finding a solid, comfortable position.
3. Smooth Shutter Press
Use the tip of your index finger to press the shutter—don’t jab or squeeze too hard. Excessive force can twist the camera slightly, introducing blur. Instead, apply gentle, controlled pressure.
4. Controlled Breathing
You don’t need to hold your breath, but timing your shot with your breathing helps. The body is naturally stillest just after exhaling. If possible, release the shutter during this brief pause for maximum stability.
Final Tip: Stability Is Key
The goal is to be steady, smooth, and deliberate. Experiment with different grips and stances to find what works best for you—especially in low light or when using slower shutter speeds.
Have your own stability tips? Share them in the comments below! We’d love to hear your techniques.
