We will discuss 4 helpful tips for taking great bird photographs. With a bit of patience and practice, you’ll be capturing beautiful photos.
Let’s get started!
Use the right camera settings
Otograph Birds
As a bird photographer, it is vital to choose the right camera settings.
To capture the birds in their most optimal and fastest state, you need to have all of the necessary conditions.
Raw Format
You can do a lot of post-processing with the right format. Jpeg and RAW are two popular formats on modern cameras.
RAW is the most powerful format for photography. It is basically a digital neg that has all of an image’s information. The RAW format contains color information, data on light intensity, and more.
You can adjust the exposure, color saturation or white balance, without having to compromise the image’s quality. The full details of color photos are visible without compression.
raw files tend to consume more space on memory cards or hard drives than other formats.
RAW is the perfect option for professional photographers who want to have complete control over their images.
Shutter speed, ISO and Aperture
Shutter speed is one of three important settings on the exposure triangle. The other two are ISO and aperture.
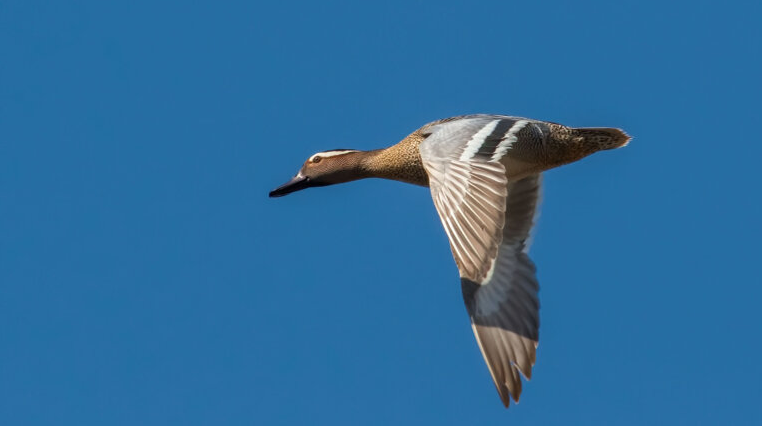
To get crisp, clear images of birds, you should choose the fastest shutter-speed possible. A slow shutter-speed can result in blurry pictures, making it difficult to properly focus on your subject.
You can freeze most species in place by using shutter speeds of as little as 1/1000 second.
To keep your photo sharp, you need to use 1/100 shutter speed if you are using a lens with a focal-length of 100mm.
When the setting is selected, the depth-of-field will be determined. This zone of sharpness between the nearest and farthest part of the picture. A slow shutter speed or failure to properly focus on the face or eye at the start can cause soft images.
The focal length, aperture and distance from the subject can be calculated using an online tool.
This is a very useful tool, because it gives you precise information to help you select the right aperture.
ISO is the last but not the least. It is the noise that is seen in the image, especially in areas with darker tones and smoother tones. Noise reduces sharpness, fine detail, and the overall quality.
Dual Native ISO will ensure that the image quality is not affected by noise. You can take photos in normal or low light conditions.
: Taking great photos of birds and experimenting with light
The ability of a bird photographer to identify and evaluate varying lighting conditions in the field is an essential skill.
Try shooting in different lighting situations. Consider how light affects the color and contrast of your subject.
Light Quality
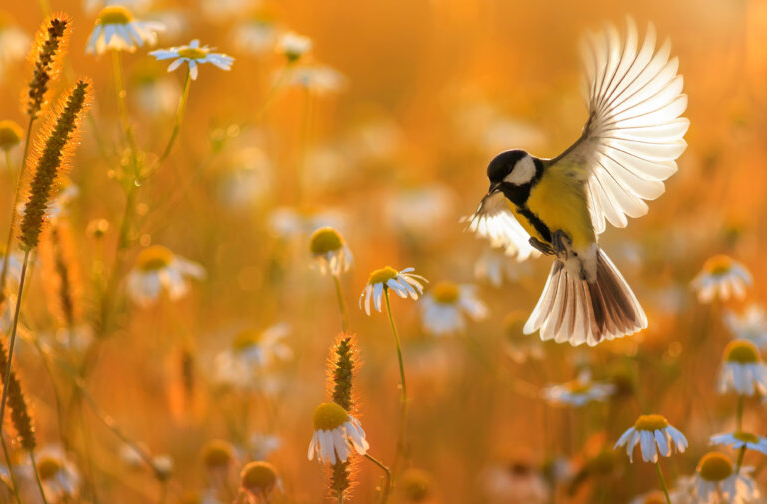
Light quality changes over time, depending on the weather conditions (sunny vs. cloudy). ..). On a cloudless, sunny day the light has a powerful directional quality.
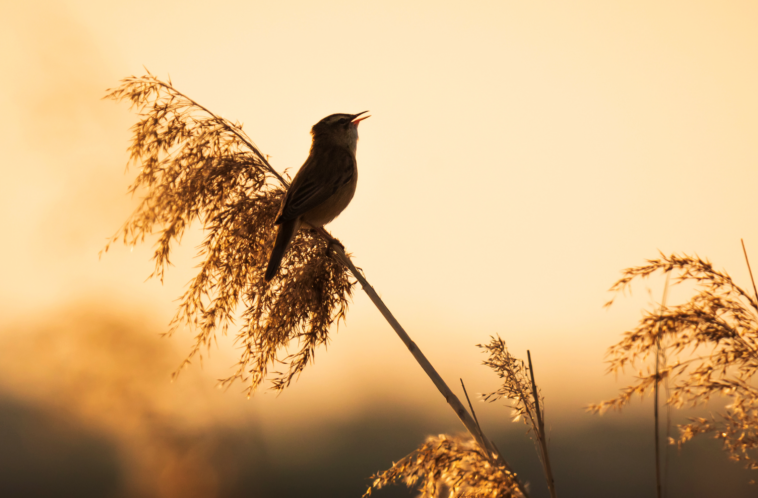
The best time to photograph birds is in the early morning, at sunrise, and an hour later. Also, the golden light of late afternoon is ideal.
Direction Light
In addition to the hardness and softness of light, it also has a directions. The angle at which sunlight hits a particular subject is very important.
When the sun is directly behind the photographer, front lighting can be used. Bird photography uses this most commonly.
When the bird is lit from one side, it will not illuminate its body evenly. Side lighting is best when the sun is low.
The backlight illuminates your subject from the side. This is perfect for bird photography as the feather texture and shape are enhanced.
If you have exposed the image correctly, this can be corrected in post production.
By combining powerful ambient lighting with a backlight, you can create a beautiful outline. This type of lighting is achieved by intentionally underexposing an object while exposing its surrounding areas.
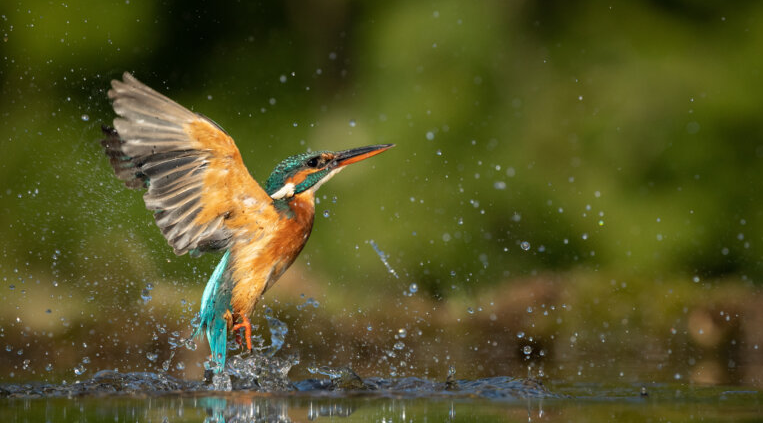
Use prefocus to capture flying birds
When the bird in motion is moving, autofocus is not possible. The camera will be unable to lock onto the subject.
The pre-focus technique is the technique I prefer to use.
In this technique, you focus on a single point and wait for the bird.
You can use this technique when a bird is known to regularly land in a specific, predetermined location.
In discussing focus, the depth of field and hyperfocal distance come into play.
We have already discussed the depth of field. A higher F-stop can give you more room to work with and more opportunities to catch birds in flight.
Hyperfocal distance Another concept you must understand is
Hyperfocal Distance is an example of depth-of-field where the object infinity as well as the nearest possible object may be sharply photographed.
All images within the range of hyperfocal focus will have acceptable sharpness.
We can continue the example and calculate the hyperfocal distance. It is 21 feet. If the lens’s focal length is 21 feet, everything beyond this distance will be in focus.
Tools will calculate the distance.
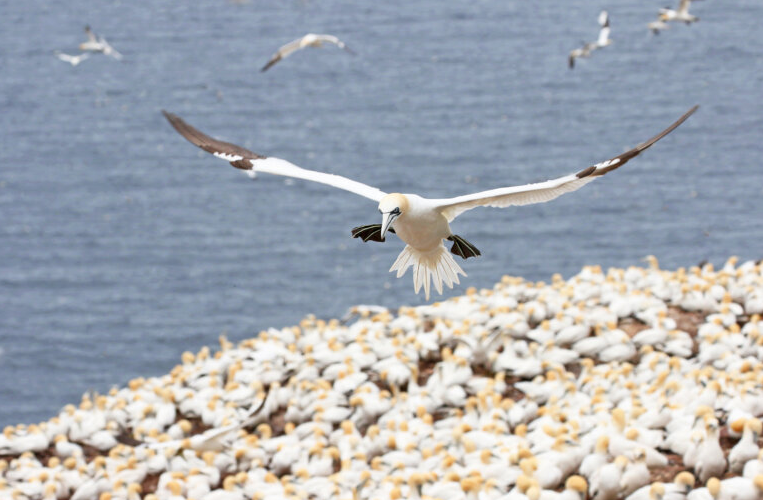
Attention to flight patterns and paths
Pay attention to the predictable patterns of bird flight and activity when you are on a photo excursion.
It can be difficult at first to choose which direction to point your camera when visiting a brand new place, such as a colony of seabirds. They will always fly to the right or left.
You will likely notice a pattern if you observe a bird. You can then decide where you want to be.
Choose a place with a clean background, and an overall view you like.
The wind direction can affect flight path from day to day.
The article concludes with:
With patience and practice, you can create incredible photographs.
You will find the tips and techniques that we discussed very helpful.
When taking pictures of birds, it is important to remember that you should respect both the environment and your fellow photographers.
Take your time, enjoy yourself and be patient.